Easy leaf rubbing activity – part art project and part science activity! This leaf STEM activity lets kids of all ages create something beautiful and get a peek into the parts of a leaf!
Ever since I was a child, I was fascinated by the idea of being able to lay a leaf under paper, rub a crayon over the top and create this beautiful self-made art! An instant ‘picture’ that shows all the detailed lines and swirls of the leaf. As I grew to become a nature lover, I realized that making a leaf print is much more than just a pretty picture. It’s also a peek into the science of trees!
Leaf Rubbing Activity: Art & Science Project
Leaf rubbings (also known as leaf prints or leaf tracing) are one of those activities that almost every child tries as Autumn approaches. We see so many beautiful leaves covering the ground that we are drawn to capture both their shape and hue on paper.
I especially enjoy this activity in late October and November. It’s very creative and one of many fun Thanksgiving activities for kids that encourage them to get outside on those cool Fall days. We’ve outlined the details below:
- how to make a leaf rubbing,
- supplies you’ll need for the project with affiliates links
- and books that we used for our activity.
Leaf Rubbings: Lesson Plan Objectives
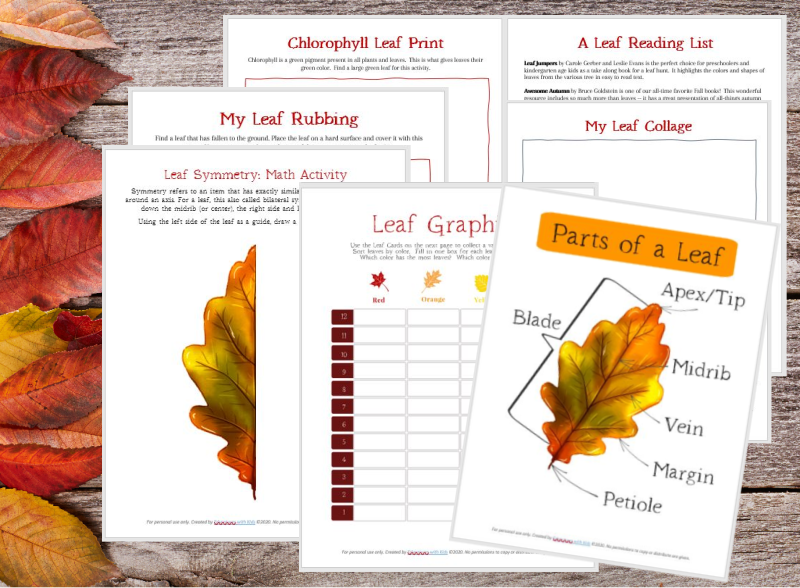
Since this project is part art and part science, there are a few goals we have when creating leaf rubbings or leaf tracings. Our *NEW* Leaf STEAM Printable Pack also has a number of science, art, math & nature activities for kids too!
Art Objective: To use a variety of paper types (wax paper, tracing paper, parchment paper) and explore different mediums (crayon, oil pastels, colored pencils) when creating leaf prints.
Since we’ve always done traditional leaf rubbings, I thought we’d venture out this year and experiment with the art form by using materials that are slightly different than the standard white paper and crayon technique.
Science Objective: To learn the basic structure of a leaf, label the various parts and understand their function.
I’ve included some science terms below for discussion during the activity along with affiliate links to a few non-fiction books and items we used to create our prints. The books help to explain the parts of a leaf, functions of each part and also answer other common science questions such as “why do leaves change colors”.
If you’re looking for additional outdoor science activities, try these 20 Outdoor Fall Science Experiments for Kids too!
Learning about the Parts of a Leaf
As with many of our activities, we always being with a book for inspiration! Here are a few wonderful books to read before you begin creating your leaf rubbings:
Why Do Leaves Change Color? (Let’s-Read-and-Find-Out Science, Stage 2) – easy science for young kids! The book helps younger kids to better understanding of the true color of a leaf and why we see colors change in Autumn.
The Let’s Read & Find Out Science series is one of our favorites and a great series of books that explores many science and nature areas.
Autumn Leaves shares an up close look at 13 different trees and leaves in a manner that’s appealing to kids. Your kids will be able to identify the leaves they use when they create their rubbings by reading & using this book!
Or if you’re looking for a larger set of printable leaf activities, try one of these Tree & Leaf Unit Nature Studies which include details for the leaf, bark pattern and tree seeds in one cool learning set!
Awesome Autumn is one of my favorite Fall reads (it’s also included on our list of 14 Favorite Fall Books for Kids too)! The pictures are beautiful and there are so many fun facts in this book — even I learned a few new things!
Do you have kids who LOVE books?! Join Audible and get 2 FREE audiobooks (for you or the kids 😉
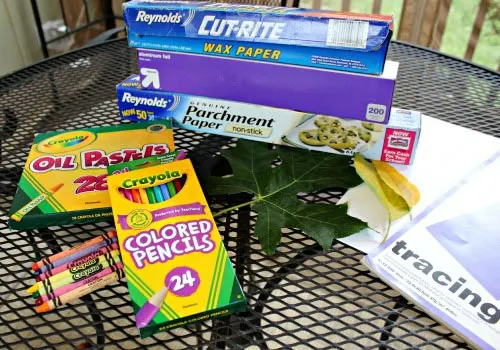
Leaf Rubbing Art Project Supplies
Here’s what you’ll need to get started on this activity:
- Leaves! larger ones are good and a variety of shapes will yield some nice results!
- If you don’t have many in your area, try these leaf rubbing plates!
- Tracing paper
- Parchment paper
- Wax paper (this is totally different from parchment paper!)
- Aluminum Foil (also called tin foil)
- Oil pastels (a little like crayons but totally different results!)
- Crayons
- Colored pencils
- a clipboard
We include this activity on our list of 40 Fabulous Fall Activities for Families since it’s such as easy project to do and is enjoyed by all ages! It’s also a wonderful activity to use in your classroom or home school as you explore seasonal changes, parts of a leaf or during a nature study.
How to Make Leaf Rubbings
My daughter chose a different color for each of her drawing supplies. Then we created leaf prints for all four types of coverings.
- Place the leaf on a 9 x 12 Clipboard (it helps to hold everything in place as we created our prints)
- Cover the leaf with each type of paper you are using for the activity
- Slowly, use each medium (crayons, colored pencils and oil pastels). rub it over the top of the paper to see the outline and details of the leaf
There are SO many ways to do this activity! Feel free to mix and match your papers and drawing supplies in any way you’d like to for the project.
For example, you might use oil pastels with all three types of paper to examine how the leaf print looks different on each.
You can also use all three drawing tools (crayons, oil pastels and colored pencils) on one piece of paper to create a more layered leaf collage! Or mix and match your favorites like we did!
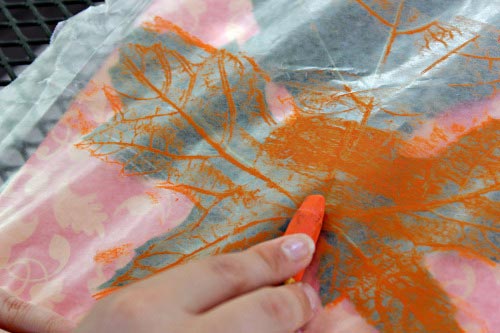
First we used an orange Oil Pastel Stick on the wax paper. Be sure to hold the leaf steady or tape down the wax paper as it will move when you slide the oil pastel stick over the top of the paper.
Wax paper has a glossy surface and the oil pastel compliments it nicely. It really looks like a ‘wet’ print when you’re finished.
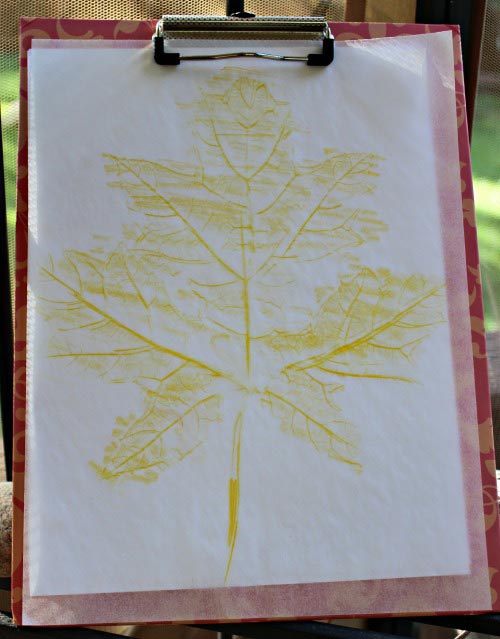
Leaf Tracing with Colored Pencils
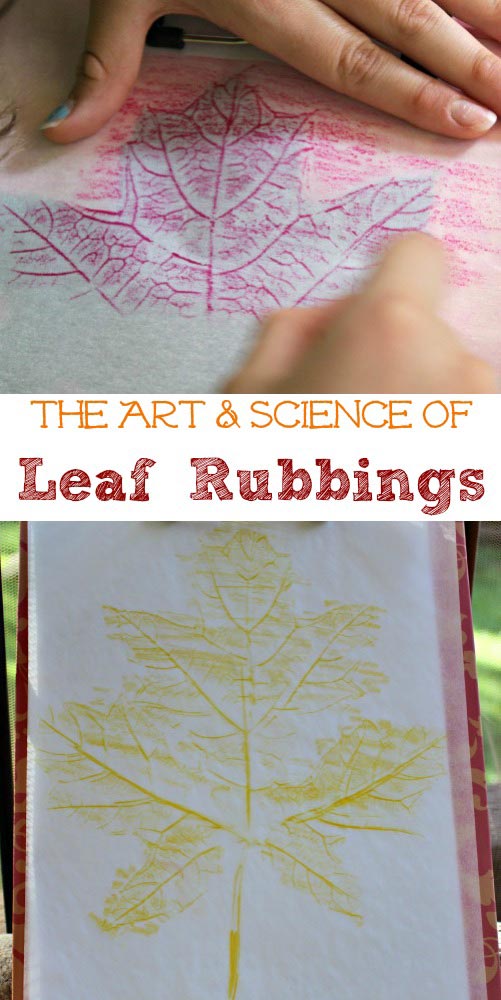
On our tracing paper, my daughter chose to use a yellow colored pencil. Tracing paper is very thin so the pencil was a good choice for this type of paper.
With colored pencils, just apply light pressure as you rub the side of the tip across the paper. If you push too hard, the pencil will rip the paper.
And let kids get creative — if they want a purple or rainbow leaf rubbing, great!
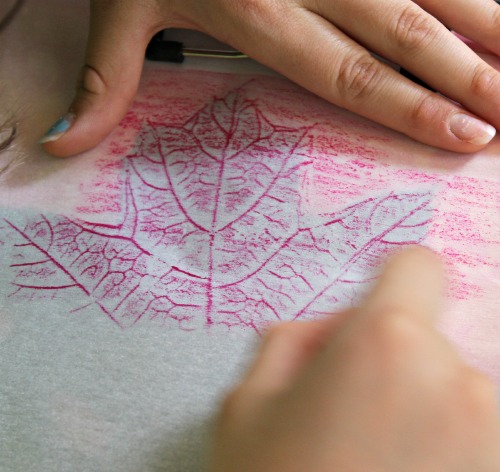
Leaf Rubbing with Crayons
For our third rubbing, we used red crayon to create a leaf print on the parchment paper. This was my favorite as I think it captured the most detail in the leaf.
You can find parchment paper in rolls (similar to tin foil) or buy flat sheets of parchment paper which is easier if you’re doing this activity with a group!
But I will warn you, parchment paper in it’s nature is a non-stick material. This means that most tape and glue won’t work with it if you are hoping to display the print. We did learn that it’s possible to tape the edges of the print to a window but it would not adhere to other pieces of paper.
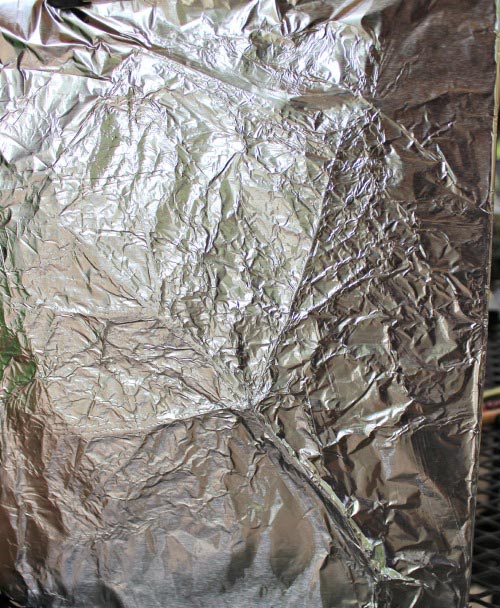
Leaf Prints on Foil (aka – Leaf Relief)
For our last leaf rubbing, we actually created a print of the leaf using aluminum foil. To achieve this, we just ran the side of a pencil over the leaf.
Our goal was to create a raised leaf print instead of a colored print. It was a nice change-up since you can feel the maze of veins from the leaf. This is really for more science exploration than art.
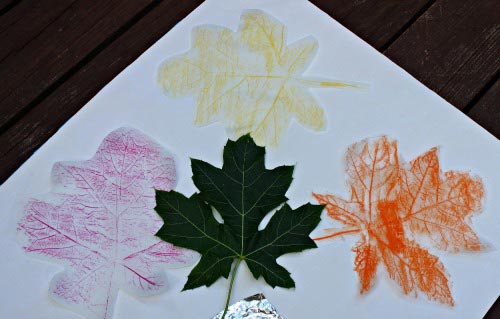
Leaf Rubbing Collage
Here are all three prints displayed with our leaf to make a leaf collage. You can also create a collage using one large piece of paper with different coloring items.
Or use all three colored items on each type of paper (so you would have a leaf collage on wax paper that includes a crayon leaf tracing, a colored pencil leaf tracing and an oil pastel leaf tracing). You can also grab a copy of the FREE printable Nature Texture Scavenger Hunt and encourage kids to make rubbings of various items they find outdoors.
If your kids enjoy this crafty activity, they might also like this Leaf Scratch Art Kit too!
Leaf Science Activities
Be sure to see our Leaf STEAM Activity pack with 7 printable activities that cover the science, math, art and nature of leaves!
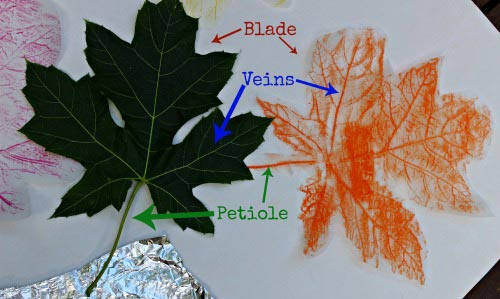
As you create the leaf prints, talk to your kids about the various parts and functions of a leaf.
The broad flat part of the leaf is called it’s blade. The lines that run through the blade are the leaf’s veins. Veins carry food and water to the tree. The stalk of the leaf is called a petiole.
If your kids are curious of leaves, try this How does a Leaf Breathe? experiment which can be done in the backyard or classroom!
Many kids will usually ask–
Why is a leaf green?
Leaves contain chlorophyll, which has a green pigment. Chlorophyll is the substance that absorbs sunlight to use in photosynthesis (the process of turning carbon dioxide and water into food for the tree).
Why do leaves change colors?
In Autumn, when the days get shorter and colder, the tree knows that winter is coming. Since there is not enough sunlight and water available during winter, the tree goes into a resting period where it will stop producing food.
When chlorophyll stops being made, the green color fades and we see the other colors that have always been in the leaf. This question is also addressed in detail in the book Why Do Leaves Change Color? with beautiful illustrations that highlight the ideas!
If you have green leaves that haven’t changed color, you can use chromatography paper for an experiment to test and see what color the leaf will be when chlorophyll is no longer made!
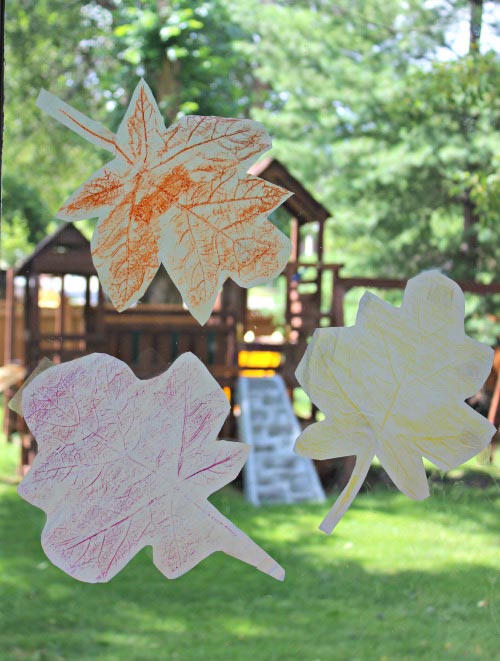
Hang your leaf prints on a window and let the kids get a good look at them.
You might want to have them look at the leaf itself and then the print so they can compare what they see. Plus, it’s adds a touch of Fall to any room!
More Leaf Activities for Kids
We’re Going on a Leaf (Scavenger) Hunt with FREE printable cards
18 Leaf Experiments & Leaf Crafts for Fall
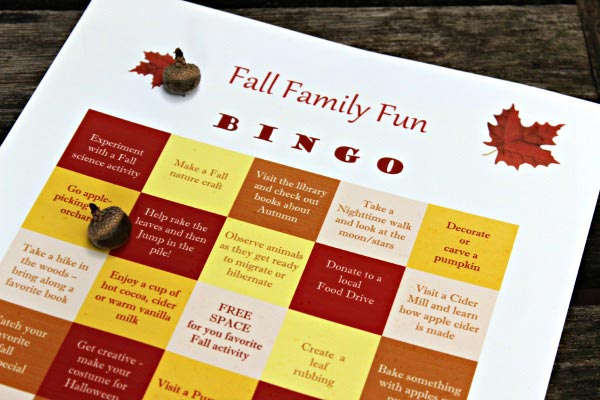
Plus — Fall Family BINGO Activities {free printable}

