Do your kids love to make handmade ornaments for Christmas? Then you will go CRAZY over today’s activity – Handmade Shadow Box ornaments!
They are quick and inexpensive crafts that you can easily fit in a few during the holiday season — and they also make great gifts for grandparents & teachers too!
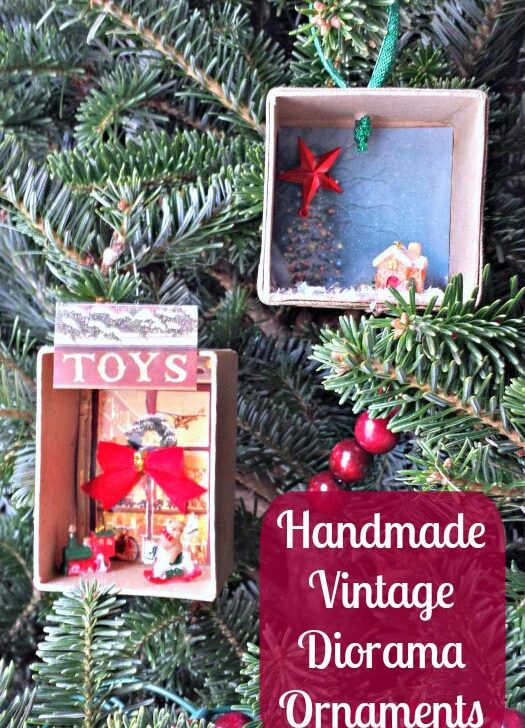
Easy Handmade Christmas Ornaments
I really love vintage items so I thought we would re-create one of the popular ornaments from times past — a mini holiday diorama that you can hang on the tree. I really adored these small winter wonderlands when I was younger. We’ve included a supply list along with affiliate links so you can easily find the items you’ll need to make one of your own too!
I don’t know if you remember these from your parents or grandparents trees but they were plastic balls or boxes that held a winter scene. You can see a really cute example of one on Amazon with this Santa & Reindeer vintage ornament — but they are super had to find these days!
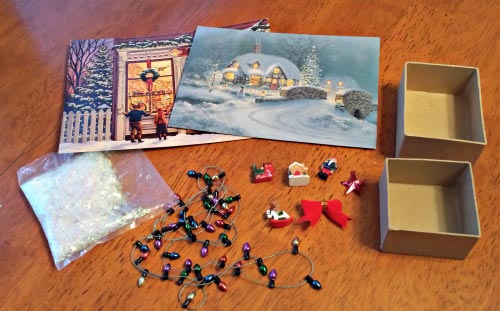
Here’s what you’ll need to make one of your own:
- Small paper mache boxes — you can also use a small jewelry box too
- Old holiday cards – great way to upcycle them!
- Mini ornaments or figures that will give some depth or a 3D look to the project
- A variety of Christmas-themed Ribbons
- Fake snow or glitter
- Glue
- Ribbon or ornament hooks to use for hanging them on the tree
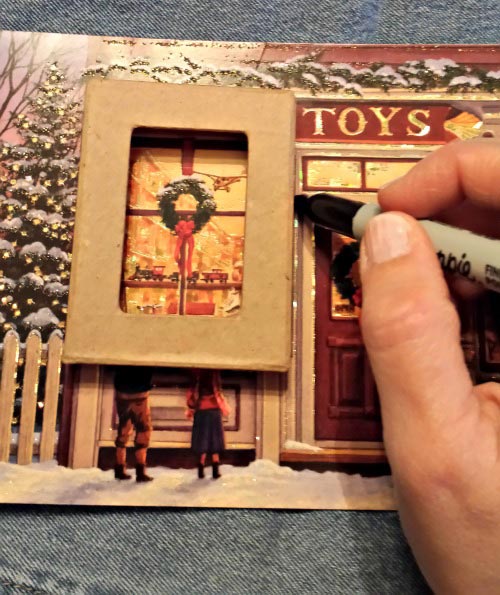
First, decide what card you’ll use for the background of your diorama.
We decided to make a snowy scene for one ornament and a toy store window in the other box.
If you have an old stack of cards, flip through them and I’m sure there will be a picture that will catch you eye. Sometimes it helps to give the kids the top of the paper mache box so they know how large their picture will be once it’s placed inside.
Use the top of the box to trace around the area of the card you would like to use as the background. Then trim the area to fit the back of your box.
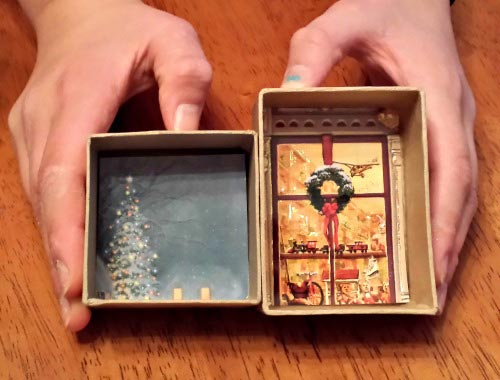
Once you have the card trimmed, glue it into the box.
Ta-da — instant background scene 🙂
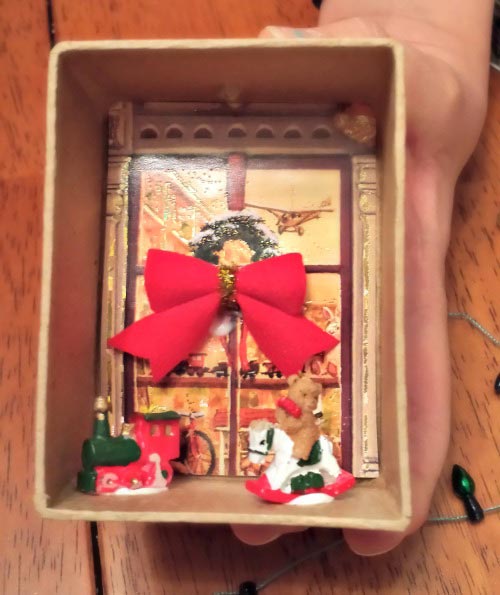
Now to give the ornament that 3D look — add some of the mini ornaments or small items to the box.
For the Toy Store window, my daughter added some small toy ornaments and a mini red velvet bow. In the winter scene, I decided to put in a mini cottage and a large star on the top of the tree in the background.
Allow them to dry for a while (otherwise they’ll slide around) and then add glitter or snow if it fits your scene.
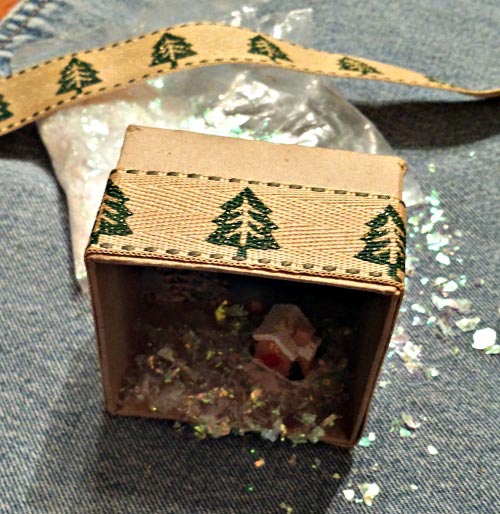
We added snow to our winter scene. We also decided to trim the outside of the box with a fun Christmas ribbon to give it a little ‘pop’!
I love how creative you can be with the dioramas — the kids will have a great time planning our their ornament. You might do an outdoor snow scene, something from nature or a peek into the chimney on Christmas Eve – so many possibilities!
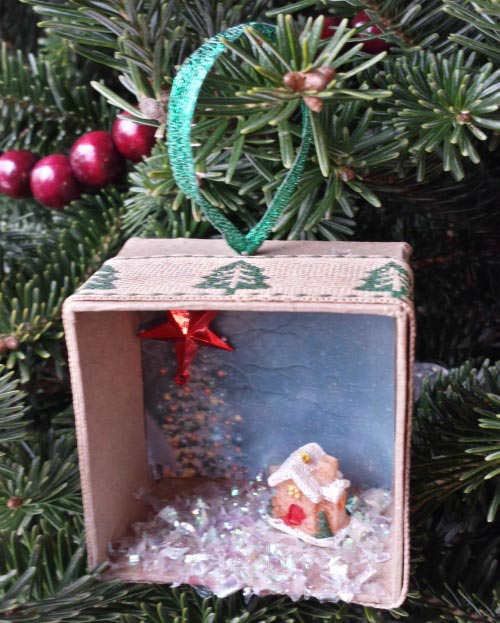
Once everything is dry, we used a small screwdriver to poke a hole in the top of the box.
For the winter scene, we threaded a colorful ribbon through the hole to use to hang the ornament.
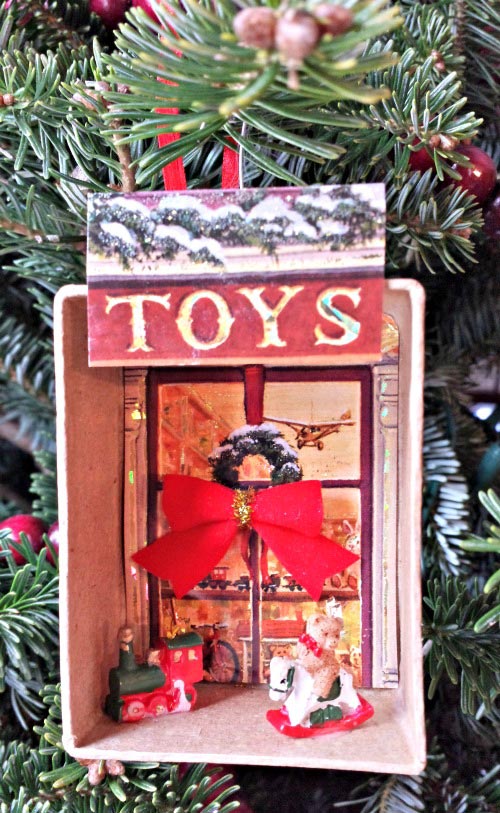
For the Toy Shop, we hung it with a metal ornament hook.
Pretty cute, aren’t they?!
The whole project took us less than 45 minutes including the time to let the glue dry between steps.
MORE DIY Christmas Crafts for Kids:
DIY Christmas Stocking Ornaments
23 Jingle Bell Crafts and STEM Activities
