I just realized that we haven’t shared many Simple Science Experiments lately. Our goal with Simple Science activities is to provide you with quick & easy ideas that help kids explore science!
For today’s experiment, we’re going to head outside and learn how leaves and trees breathe!
How Do Leaves Breathe? A Simple Science Experiment
Most of our simple science experiments require very few items (many of which are found around your home) and can be set up in less than 5 minutes. If you’d like to introduce your child to science, these experiements are the perfect place to begin!
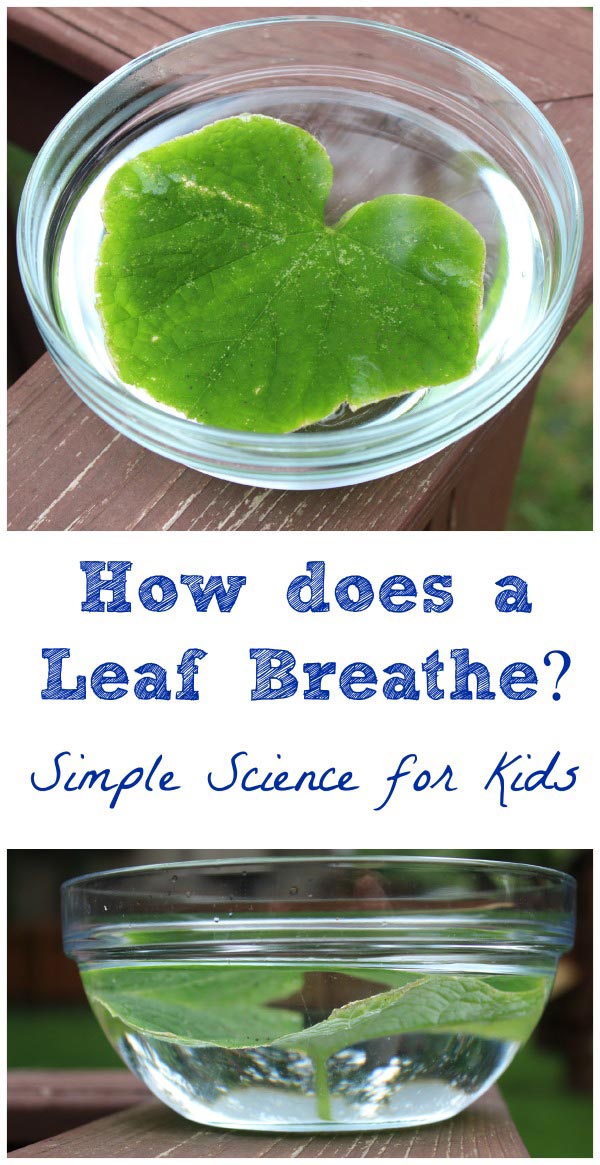
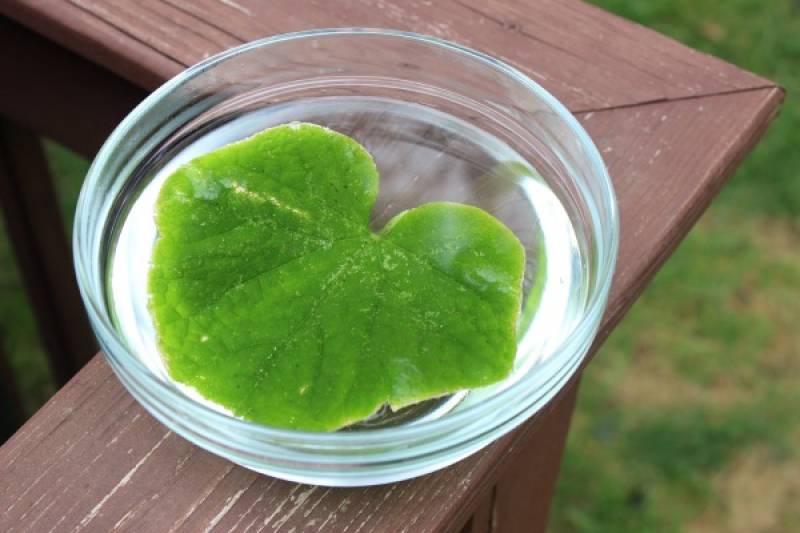
All you’ll need for this experiment is a bowl of water and a leaf!
We’re going to create an environment where we can actually SEE photosynthesis taking place — the oxygen/carbon dioxide process of plants!
While you don’t need many supplies for this activity, we have listed affilite links for books and a few items that we found helpful during the experiment and to expand on the learning opportunity.
This activity is really VERY interesting for two reasons:
• first, kids don’t always think of plants & trees as ‘living’ things so this helps them to visualize that concept and
• second, it’s a way to actually SEE something that is normally invisible!
Before you begin the experiment, we suggest introducing the topic with a book. Here are a few books we highly recommend:
Tell Me, Tree: All About Trees for Kids and A Tree is a Plant (Let’s Read and Find Out Science) for preschool and elementary age kids. Both books give a nice overview of the lifecycle of a tree including science terms.
For a more in-depth science look, try Botany: Plants, Cells and Photosynthesis (Super Smart Science) for middle schoolers or if you’re looking for LOTS of great answers to botany science questions, see V is for Venus Flytrap: A Plant Science Alphabet!
If you’re also studying plant cells as part of a biology unit, the Learning Resources Cross Section Plant Cell model or the 4D Plant Cell model are both awesome teaching tools for this concept!
Exploring How Plants and Trees Breathe
Even though we chose to use a tree leaf, you can also conduct this experiment using a leaf from a plant — the important step is including an ACTIVE leaf (meaning one that you remove from the tree or plant).
Step 1: Fill a large bowl with lukewarm water
You can use a glass or plastic bowl (personally, I like glass bowls better as you’ll be able to see the experiment from all angles however you will probably have the bowl outside so you may want to use plastic).
If you’re replicating this experiment in the classroom, a large size beaker would also work — in fact, you can extend the experiment by measuring the amount of water you use to cover the leaf to see if that has any impact on the results!
I have not tried this experiment with a metal bowl so if you do, send me a note and let me know how it turns out!
Step 2: Head outside and find a large leaf
You’ll want to remove a leaf from a tree or plant and not just pick one up off the ground as we want an ‘active’ leaf for the project. I know — if you’re like me, you probably tell kids not to pull the leaves off trees (which is a good rule to follow) but for this experiment, carefully remove a leaf. If you’re doing this with a group, have kids pair up if you’d like so not as many leaves are needed.
You can also use the leaf to have some fun with art & science by making a leaf rubbing once you complete the experiment!
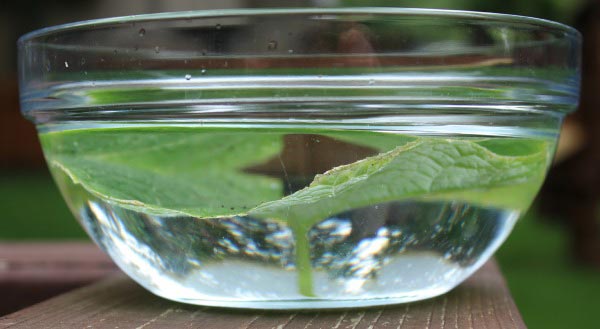
Step 3: Place the leaf in the bowl of water and put a small rock on top of it so it is FULLY submerged under the water
You should do this right away. Don’t let the leaf sit around too long before submerging it in water. Then place the bowl in a sunny spot – outside in direct sunlight is best.
As you can see, this is really the benefit of using a glass bowl — you can be sure your entire leaf is underwater. If you have a place inside that’s super sunny, you can also try keeping the bowl there.
Step 4: WAIT!
Oh yea, did I mention that now we need to wait a few hours 😉
I know — one of the hardest things for kids. So go on with your day — maybe set the experiment up before lunch. Or your kids can get it ready before they head off to school or the park and it will be waiting for them when they come back.
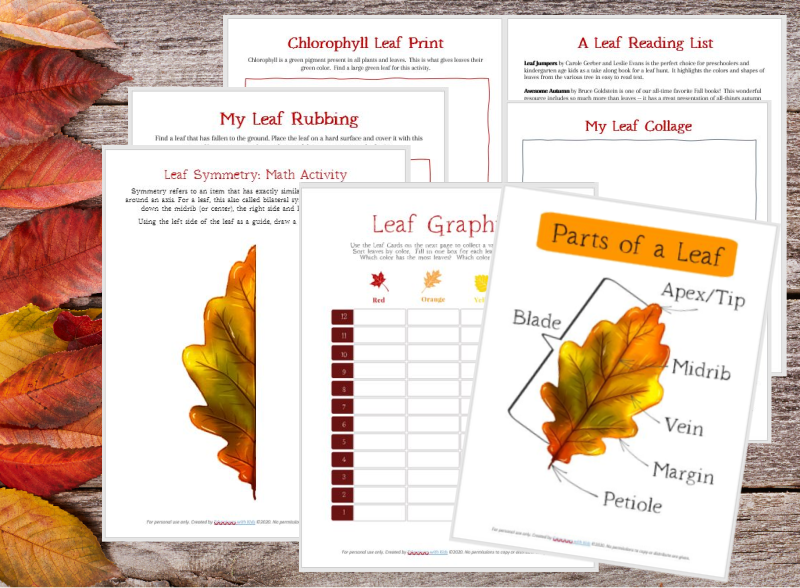
While you’re waiting, kids can explore the science, math, art and nature of leaves with our *NEW* Leaf STEAM Printable Pack which includes 7 hands-on STEAM activities — create leaf rubbings, make chlorophyll prints, learn the parts of a leaf, construct a leaf graph & more!
Or try one of these other simple science experiments:
Does your Food Sink or Float? {physics & density for kids}
Create Your Own Gong! {science of soundwaves for elementary & middle school}
How Much Water is in Snow? {evaporation & weather science}
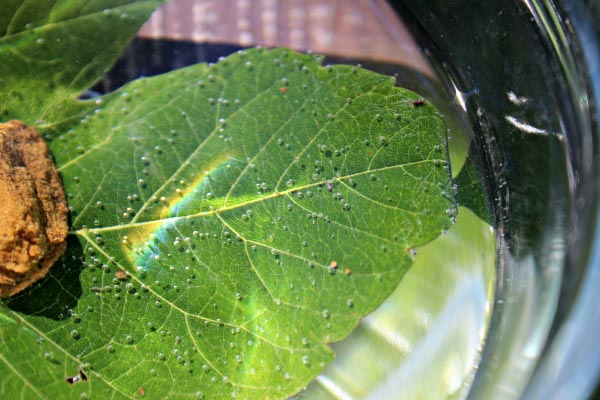
Step 5: Take a peek a few hours later
What you should be seeing is small bubbles that form around the leaf and the edges of the bowl. These are easy to see with the naked eye but having a large magnifying glass on hand always makes an experiment feel more scienc-y 😉
Explaining Photosynthesis & Respiration for Kids
Ask your kids what would happen if they held their breath, went underwater in the pool and then let their breath out — they would see bubbles coming up in the water.
That’s what they are seeing here — the leaf is still using the sunlight as part of the photosynthesis process (where leaves convert sunlight to energy).
As a leaf creates that energy, it needs to get rid of the items it no longer needs so it will expel both the extra oxygen during photosysthesis along with water (the release of water from a plant is called transpiration).
The process of photosynthesis is what allows us to see the bubbles — as the leaf releases its’ extra oxygen while submerged, the oxygen can be seen as bubbles in the water. And since oxygen is lighter than water, the bubbles will eventually rise to the surface.
Related Activity: Name that Tree! Leaf & Seed Identification
Why does a plant need oxygen?
Now, does a tree or plant breathe the same as we (humans) do?
Nope!
A plant, tree or leaf doesn’t have any lungs or respiratory system. But it is a living organism just like we are! It takes in air through their stomata.
A human takes in air with oxygen and as they exhale, they release carbon dioxide.
Plants take in carbon dioxide from the air and then release oxygen as photosynthesis and respiration occur.
So there you have it — you can tell the kids they are ‘seeing the invisible’ because when leaves are on the tree, you aren’t able to really see the process of photosynthesis in the works 😉
If you’re looking for more plant science ideas, try using a Garden Root Viewer to see how plants grow or use this set of Printable Science Botany Activities to extend the learning!
More Leaf Science Experiments
Here are a few more leaf activities you’ll enjoy —
18 Fall Leaf Crafts & Experiments
Using Leaf Rubbings to Study the Parts of a Leaf
More Simple Science Activities
Looking for more easy science experiments? Try these!
12 Citizen Science Projects for Kids
20 Science Experiments you can do in a Jar

